Guides / Design and Fit
How a Shop Holds a Keyboard Case While It Cuts Six Faces
October 15, 2026
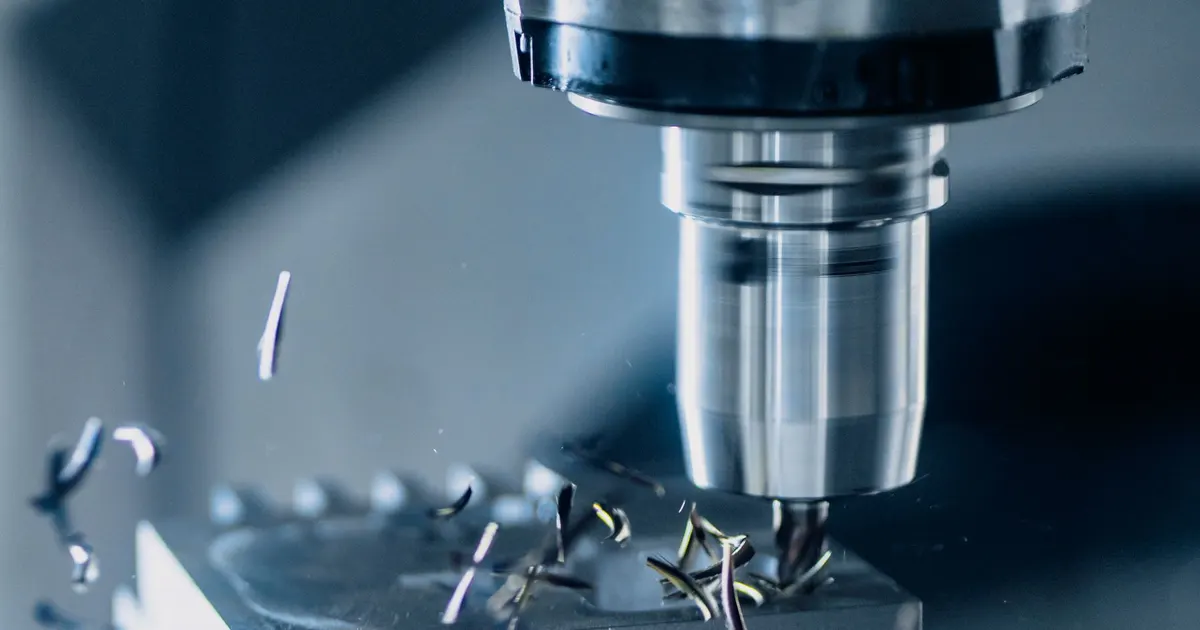
A machined keyboard case has six faces: top, bottom and four sides. A machine tool reaches some of them in each setup and none of them while the part is moving in the vise. Everything a shop does about holding the part, which is called fixturing, decides how many times the case is flipped, where the joins between operations sit and how likely a clamp is to leave a mark on a surface you care about.
For a designer or a group buy runner this is worth understanding for one reason. Fixturing is the largest cost the quote does not show you, and it is the reason two shops can price the same model far apart.
What one setup can and cannot reach
In a three axis machine the tool comes straight down from above. In one setup the shop can cut the top face of whatever is held, any pocket opening upward and the vertical walls of those pockets. It cannot reach the face that is clamped, and it cannot undercut.
A keyboard case therefore usually needs at least two setups, and often more:
- Underside and interior. The billet is held in a vise or on a fixture plate. The shop cuts the bottom face, the internal pockets, the screw bosses and the gasket shelf.
- Flip. The part is turned over and located on the features cut in the first setup. The shop cuts the top face, the outer profile and the top edge details.
- Extras. Side port cutouts, a weight recess or an angled feature may each need their own setup if the machine is three axis.
Each flip is a point where the part must be located again, and a part located twice is never located exactly the same way twice. That is why the line where two operations meet is often visible if you look for it.
The common holding methods
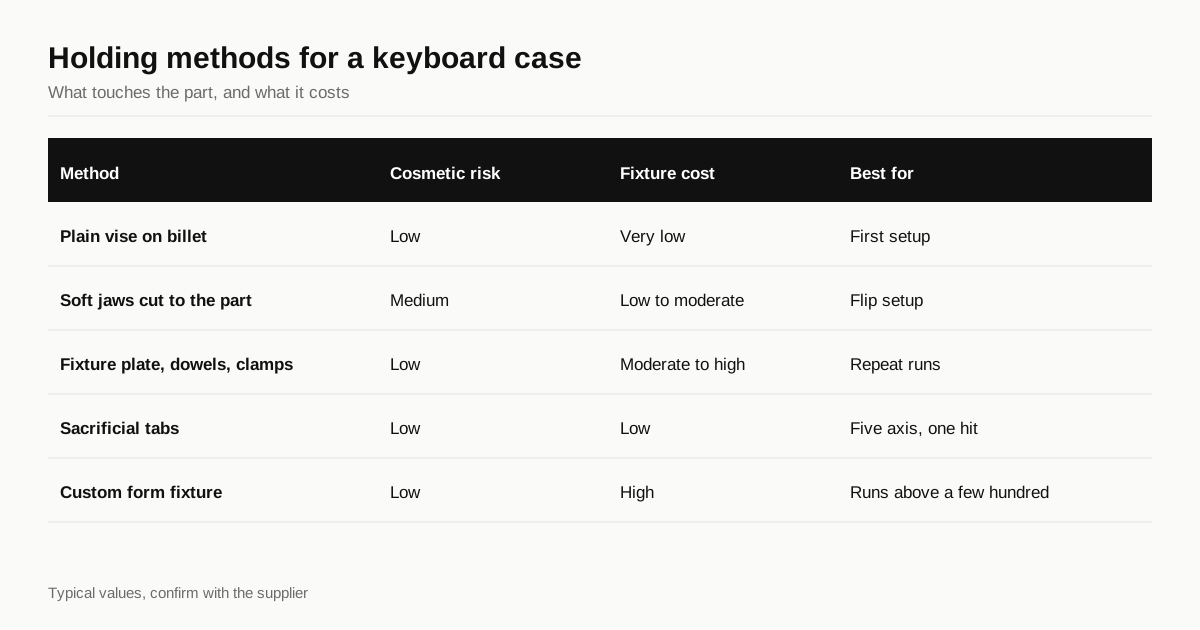
The shop chooses a method from what the part needs, not from what is cheapest in the abstract. This is a typical list with the trade-offs.
| Method | Typical use | Cosmetic risk | Fixture cost | Notes |
|---|---|---|---|---|
| Plain vise on the billet | First setup, billet still square | Low, billet is later cut away | Very low | Needs enough stock to grip |
| Soft jaws cut to the part | Flip setup on a part with a profile | Medium, pressure marks possible | Low to moderate | Jaws are machined for this case and reused on repeats |
| Fixture plate with dowel pins and clamps | Repeat runs and several parts per plate | Low if clamps touch hidden faces | Moderate to high | Best repeatability between parts |
| Sacrificial tabs | Five axis or one-hit machining | Low, tabs are removed last | Low | Leaves a small mark where the tab was |
| Vacuum or adhesive holding | Thin plates, rarely a thick case | Low | Moderate | Not common for a deep case |
| Custom form fixture | Complex shapes, high value runs | Low | High | Often worth it above a few hundred parts |
The vise is the cheapest and the plate is the most repeatable. Between them sits a large range of practical jobs, which is why asking a shop how it intends to hold the part tells you a lot about the quote.
Why the witness line exists
Anywhere a tool path from one setup meets a tool path from another, the two surfaces can differ by a few hundredths of a millimetre. On a flat face the eye rarely catches that. On an edge with a chamfer, or a side wall with a visible step, it can.
A shop reduces the problem in three ways:
- It cuts the finished outer profile in the same setup as the face it borders wherever it can.
- It uses a finishing pass that overlaps the joint slightly rather than stopping exactly at it.
- It puts the join where the part is least visible.
You can help by saying where the join is allowed to sit. A note on the drawing such as “witness line permitted on bottom edge only” is a perfectly good instruction and costs nothing. See how to write drawing callouts for the wording.
Clamp marks and pressure
Clamping force is a cosmetic problem as well as a positioning one. A vise clamp on a finished face leaves a mark, and a mark that exists before blasting and anodising will usually survive both.
The safeguards are simple and the shop should be doing them:
- Clamp on a surface that is going to be cut away, or on a hidden face.
- Use soft jaws, with a plastic or aluminium liner, when a finished surface has to be held.
- Keep clamping pressure just high enough to resist cutting forces, since thin walls on a case can distort if they are squeezed and then spring back when released.
A case with long thin walls, such as the side of a low profile design, is the most sensitive to that last point. The wall measures correctly while clamped and measures differently once free. Ask whether the final pass is cut after the clamp has been released or loosened.
How fixturing shows up in price and schedule
Fixturing is a one-time cost on the first run and mostly a saving on the repeat. A first run might include one or two soft jaw sets or a fixture plate, plus the time to prove them on a first article. On a second run those are already built.
Three consequences follow for a group buy:
- First quote versus second quote. A quote that includes tooling will look high next to a quote for a repeat of someone else’s case. Ask for the tooling as its own line.
- Quantity. Fixture cost spread across fifty cases is a visible part of each one. Spread across two hundred it nearly disappears. The same is true of the finishing batch, which is covered in what a machined case actually costs.
- Schedule. A fixture has to be designed, cut and proved before the first good part. That is a few days that sit in the lead time but never in the cutting time, and it is one reason the lead time is longer than the cutting suggests.
What a designer can do to make fixturing easier
You do not need to design the fixture. You can make it easier to design.
- Keep one flat reference. A large flat underside or a flat bottom shelf gives the shop a stable face to locate against in the flip.
- Avoid tight cosmetic features at the join. A tight chamfer or a fine line that crosses the boundary between setups is the likeliest place to show a step.
- Allow some stock on hidden faces. A small amount of extra material on the underside, or a hidden tab, gives the shop a place to hold the part without touching a visible face.
- Do not model features that need an undercut unless you mean it. An undercut means another setup or a five axis machine, and the second costs more per hour.
- State the cosmetic zones. If the shop knows the underside is a hidden zone, it can clamp there. The cosmetic standard template has a three zone scheme you can copy.
Five axis changes the equation
A five axis machine can tilt the part or the tool, so it reaches several faces in one setup. The part can be held by one small area, often a tab or a stub of billet, and that area is cut away last.
That removes most of the flips and so most of the witness lines. It also costs more per hour. The saving is real when the part would otherwise need four setups and not when it needs two, which is the same conclusion reached in five axis versus three axis for a keyboard case.
Questions worth asking a shop
When you compare quotes, these five questions bring out the differences in fixturing quickly:
- How many setups do you see in this model, and what happens in each?
- How will you hold the part in the flip, and what touches the finished faces?
- Where will the witness line sit, and can I choose?
- Is fixture cost a separate line, and what does a repeat run cost without it?
- Is the final pass cut with the part clamped or released?
A shop that answers these plainly has almost certainly done this work before. A shop that finds them strange has not, and that matters more than a difference of a few percent in price.
Before you send the files
- One large flat reference face on the underside
- Join location stated in the notes
- Cosmetic zones marked on the drawing
- No undercuts you do not need
- Tooling requested as a separate quote line
When the model is ready, send it through the RFQ form and we will match it with shops that cut cosmetic aluminium and can tell you how they plan to hold it.
Frequently asked questions
How many setups does a typical keyboard case need?
Most three axis jobs run in two to four setups: one to cut the underside and interior, one to flip and cut the top and outer profile, and sometimes extra setups for side features such as a port cutout or a weight recess. A five axis machine can often reduce that to one or two.
Why does the shop want extra stock or tabs on my model?
The part has to be held somewhere while the last faces are cut, and whatever touches the clamp cannot be a finished surface. Extra stock or a small tab gives the machine something to hold, and it is removed in the final operation.
Can I choose where the witness line sits?
You can ask, and a good shop will try, but the line sits where one setup hands over to the next. Put it on a hidden edge or an underside break in your drawing notes and the shop can plan the fixture around it.
Need a quote for your case?
Send the files. We match you with up to 3 shops that machine keyboard cases and reply within 24 business hours.
Get matched with a keyboard case shop