Guides / Materials
Acrylic Keyboard Cases: Cast or Extruded Sheet, and How Layers Stack
October 8, 2026
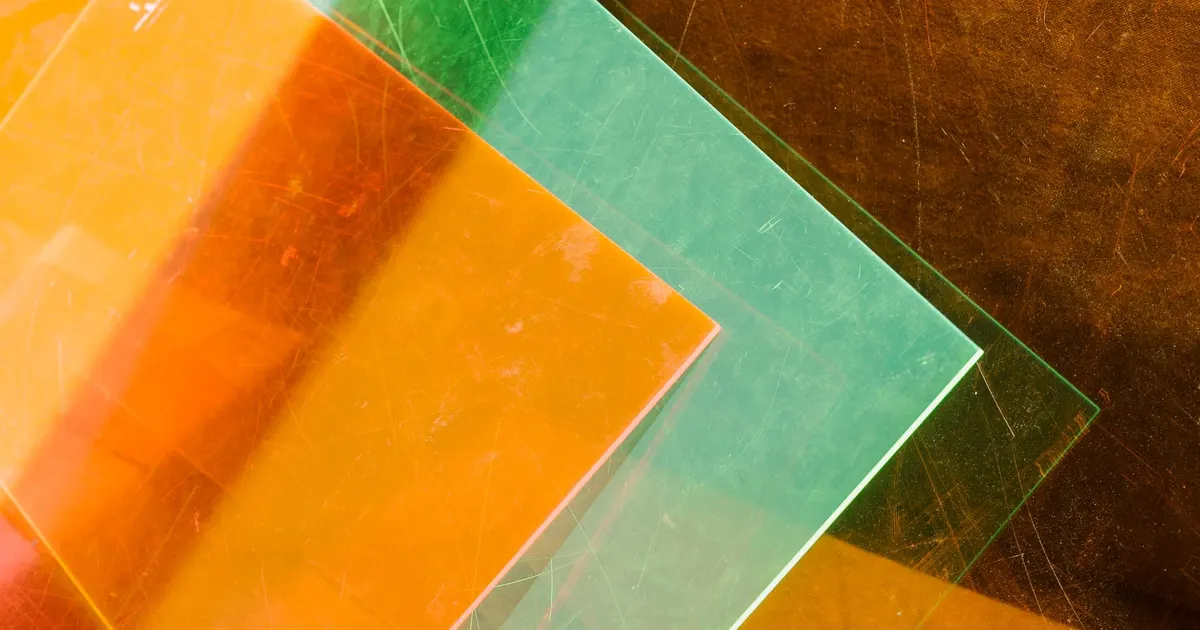
Acrylic keyboard cases are built differently from machined metal ones. Instead of a single block with a pocket cut into it, the case is a stack of flat layers, each cut from sheet. A bottom layer, a few middle layers that form the walls and a top layer that holds the plate are stacked and held with screws. The result looks like a block of glass, and it is cheap to make at low volume.
That construction explains almost every question about acrylic cases: why sheet type matters, why thickness tolerance is a design issue, and why a clear edge takes more work than a flat face.
What acrylic is
Acrylic is the common name for PMMA, polymethyl methacrylate. It is a rigid, clear plastic with good optical clarity and a hard surface. It is a little under half the density of aluminium, and it is brittle compared with polycarbonate, so it cracks rather than bends under impact. It also expands more with temperature than aluminium, by roughly three times per degree.
Two production methods give two products that look alike and behave differently.
Cast and extruded acrylic
Cast acrylic is made by pouring liquid monomer between glass plates and letting it polymerise. The polymer chains come out long, and the sheet is hard and chemically stable.
Extruded acrylic is made by pushing melted polymer through a die. The chains are shorter, the sheet is softer and the process is cheaper and more continuous.
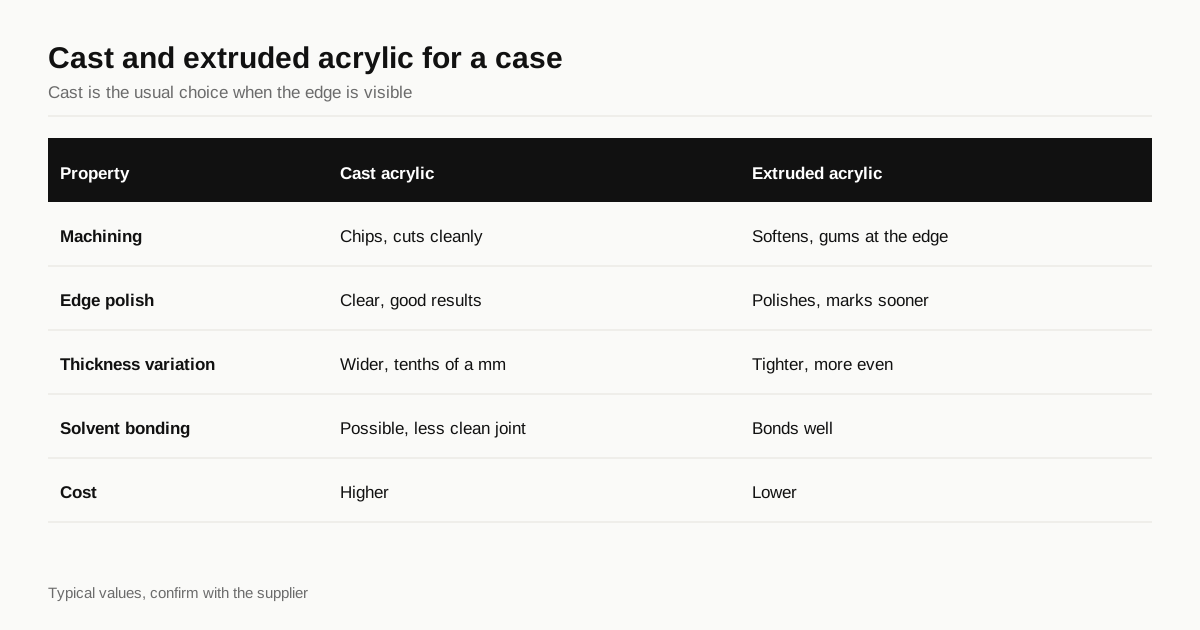
| Property | Cast acrylic | Extruded acrylic |
|---|---|---|
| Making | Poured and cured between glass plates | Melted and pushed through a die |
| Machining | Cuts cleanly, chips rather than melts | Softens and gums at the edge more easily |
| Edge polish | Polishes to a clear edge with good results | Polishes well but marks sooner |
| Thickness variation | Wider, a few tenths of a millimetre per sheet | Tighter and more even |
| Solvent bonding | Possible, joint is less clean | Bonds well with solvent cement |
| Heat tolerance | Somewhat higher | Somewhat lower |
| Cost | Higher | Lower |
| Typical use in cases | Machined or laser cut cases, clear edges | Budget cases, bonded layers |
For a case where the edge is a visible feature, cast is the usual choice, and a shop will often quote cast by default. For a design where layers are bonded and cost matters, extruded is a reasonable alternative, and its more even thickness helps with stacking.
Ask the shop which they plan to use. A quote that just says “acrylic” leaves the choice to the cheapest option.
How a stacked case works
A stacked acrylic case is usually built from three to six layers, each cut from sheet between about 5 and 12 mm thick.
- Bottom layer. A solid base, sometimes with feet or a weight recess.
- Middle layers. Frames of the same outline with the inside cut away. Stack more of them and the case gets deeper.
- Top layer. A frame that holds the plate and surrounds the keys.
- Fixings. Screws run through all layers into inserts or nuts, and pins can align the layers.
Because layers are flat cut profiles, the shop can use a laser cutter or a router, and tooling is minimal. This is why acrylic suits small runs, and why the setup and fixturing questions that drive a metal quote, such as those in the five axis versus three axis guide, matter much less. It also explains why the case looks different from a milled block: the layers can be left visible, coloured separately or polished together.
Why thickness matters in a stack
Sheet is sold by nominal thickness, such as 10 mm, and the real sheet varies. In a stacked case those variations add up.
A stack of five layers with a few tenths of a millimetre of variation each can end up off by well over a millimetre from the drawing. That changes the depth of the case, the height of the plate relative to the top and the fit of a gasket or foam layer, if there is one.
Practical steps:
- Measure the sheets you will use, not the label, with calipers at several points.
- Design the plate pocket and the layer heights with margin, or ask the shop to adjust the thickest layer to bring the stack into tolerance.
- Keep layers from one batch together. Sheets from the same production run vary less than sheets from different ones.
- Specify stack height with a tolerance, and check it on a built sample. A prototype pays for itself here.
The same problem occurs in metal cases when a design assumes nominal stock, and the tolerances guide explains which dimensions deserve a tight number.
Edges and polish
The edge is what people see. Acrylic offers more routes to a clear edge than metal does.
- Laser cutting with a CO2 laser leaves a flame-polished edge that is fairly clear straight off the machine. It can show tiny stress lines and slight edge taper.
- Router or CNC cutting with a sharp single flute cutter leaves a smooth but frosted edge that needs polishing.
- Diamond polishing takes a routed edge to a high clarity with a fine diamond cutter. It is slower and costs more.
- Flame or vapour polishing melts the surface briefly. It gives a clear edge but can introduce stress and crazing if done wrongly.
Clear edges are also the part that shows scratches and glue marks. Polish after the layers are stacked if you want a continuous edge, and expect to scrap more than you would for a coloured, matte case.
Cutting and cracking
Acrylic is easy to cut cleanly and easy to crack.
- Sharp cutters. A cutter designed for plastics, with a polished flute, cuts cleanly. A dull tool melts and marks the surface.
- Keep the masking on. The paper or film on the sheet protects the surface through cutting and handling, and comes off at the end.
- Radius the corners. A sharp inside corner starts a crack. A radius of one millimetre or more is a sensible minimum.
- Use clearance holes. Cutting a thread in acrylic creates a notch and a crack risk. A through screw with a nut or an insert spreads the load.
- Limit torque. An overtight screw can crack a layer days after assembly.
- Check the cleaner. Alcohol based or ammonia based products can craze acrylic, producing a network of fine surface cracks. Use a mild soap and a soft cloth.
The same stress and chemical rules apply to polycarbonate, and the guide to machining polycarbonate keyboard cases goes into more depth on stress relief and coolant.
Aligning and fastening the stack
Layers that are cut separately must be assembled to line up, and a case is only as neat as its worst joint.
- Alignment pins or dowel holes. Matching holes in each layer, with pins or screws through them, keep the edges flush while the case is tightened.
- Through screws and nuts. The simplest fixing is a long screw through every layer into a nut or an insert in the bottom layer. It clamps the whole stack and is easy to service.
- Solvent bonding. Layers can be glued into a single block. The joint is permanent and clean on extruded sheet but cannot be opened, which rules out access to the PCB unless a separate bottom is used.
- Recesses for heads. A counterbore for screw heads in the bottom layer keeps the base flat. It must be cut with a clean radius, since a sharp step cracks.
Assemble a sample before the run and check that the edges are flush on all sides, the stack height is right and the screws pull the layers together without bowing. A small step between layers shows plainly on a clear case and is difficult to fix after the fact.
Colour and opacity
Acrylic comes clear, tinted, frosted and opaque. Each behaves differently.
- Clear shows the inside of the case, so internal finish and cable routing become visible.
- Tinted gives a smoky or coloured effect and hides the interior a little.
- Frosted or sandblasted diffuses light and hides scratches, at the cost of a less glassy look.
- Opaque colours behave like a solid plastic case.
Sheet colour varies between production lots, so buy all the sheets for one run at once and ask the shop to confirm they come from the same batch.
What an acrylic case costs
An acrylic case has a low tooling cost and a modest material cost. The main drivers are:
- Sheet material and thickness. Cast sheet costs more than extruded.
- Cutting time. Laser cutting is fast. Routing takes longer.
- Polishing. Clear edges are the largest labour item.
- Inserts and hardware. Screws, nuts and pins add up.
- Scrap. Cracked layers and scratched faces are the usual losses.
Expect a clearly lower price than a machined metal case in small quantities, though a polished clear case can close the gap. The cost drivers common to all materials are in what a machined case actually costs.
Before you order
- Cast or extruded stated in the quote
- Sheet thickness measured and stack height checked
- Sheets from the same batch, including colour
- Edge method stated: laser, routed or polished
- Inside corners radiused and clearance holes specified
- Cleaner guidance included for buyers
Acrylic sits beside polycarbonate, wood and metals in our guide to keyboard case materials.
If you are planning an acrylic or hybrid run, send the files through the RFQ form and we will match them with shops that cut and polish acrylic regularly.
Frequently asked questions
Is cast or extruded acrylic better for a keyboard case?
Cast acrylic usually machines and polishes better, with clearer edges and less melting, so it is the common choice for cases. Extruded acrylic is cheaper and has a more consistent thickness, which helps in a stacked design, but it can gum up and soften during cutting.
Why are acrylic case layers not the same thickness as the label says?
Sheet thickness varies from the nominal value, and cast sheet varies more than extruded. A stacked case should be designed around the measured thickness of the real sheets, not the figure on the label, or the stack height and plate fit will not match the drawing.
How do I stop acrylic cracking around screws?
Use clearance holes, radiused corners and light torque, and avoid cutting threads directly in the acrylic. Metal inserts or through screws with nuts spread the load, and a countersink should have a smooth, not sharp, edge.
Need a quote for your case?
Send the files. We match you with up to 3 shops that machine keyboard cases and reply within 24 business hours.
Get matched with a keyboard case shop